

Family Photos - From online gallery to wall gallery in THREE EASY STEPS!
Classic Family Packages
At Sugar Divas Photography, I understand time is precious and limited.
That’s why I’ve created these resource guides to help you figure out how to print your images, help you to select frames that fit, and display those memories in a couple easy, fool-proof steps!
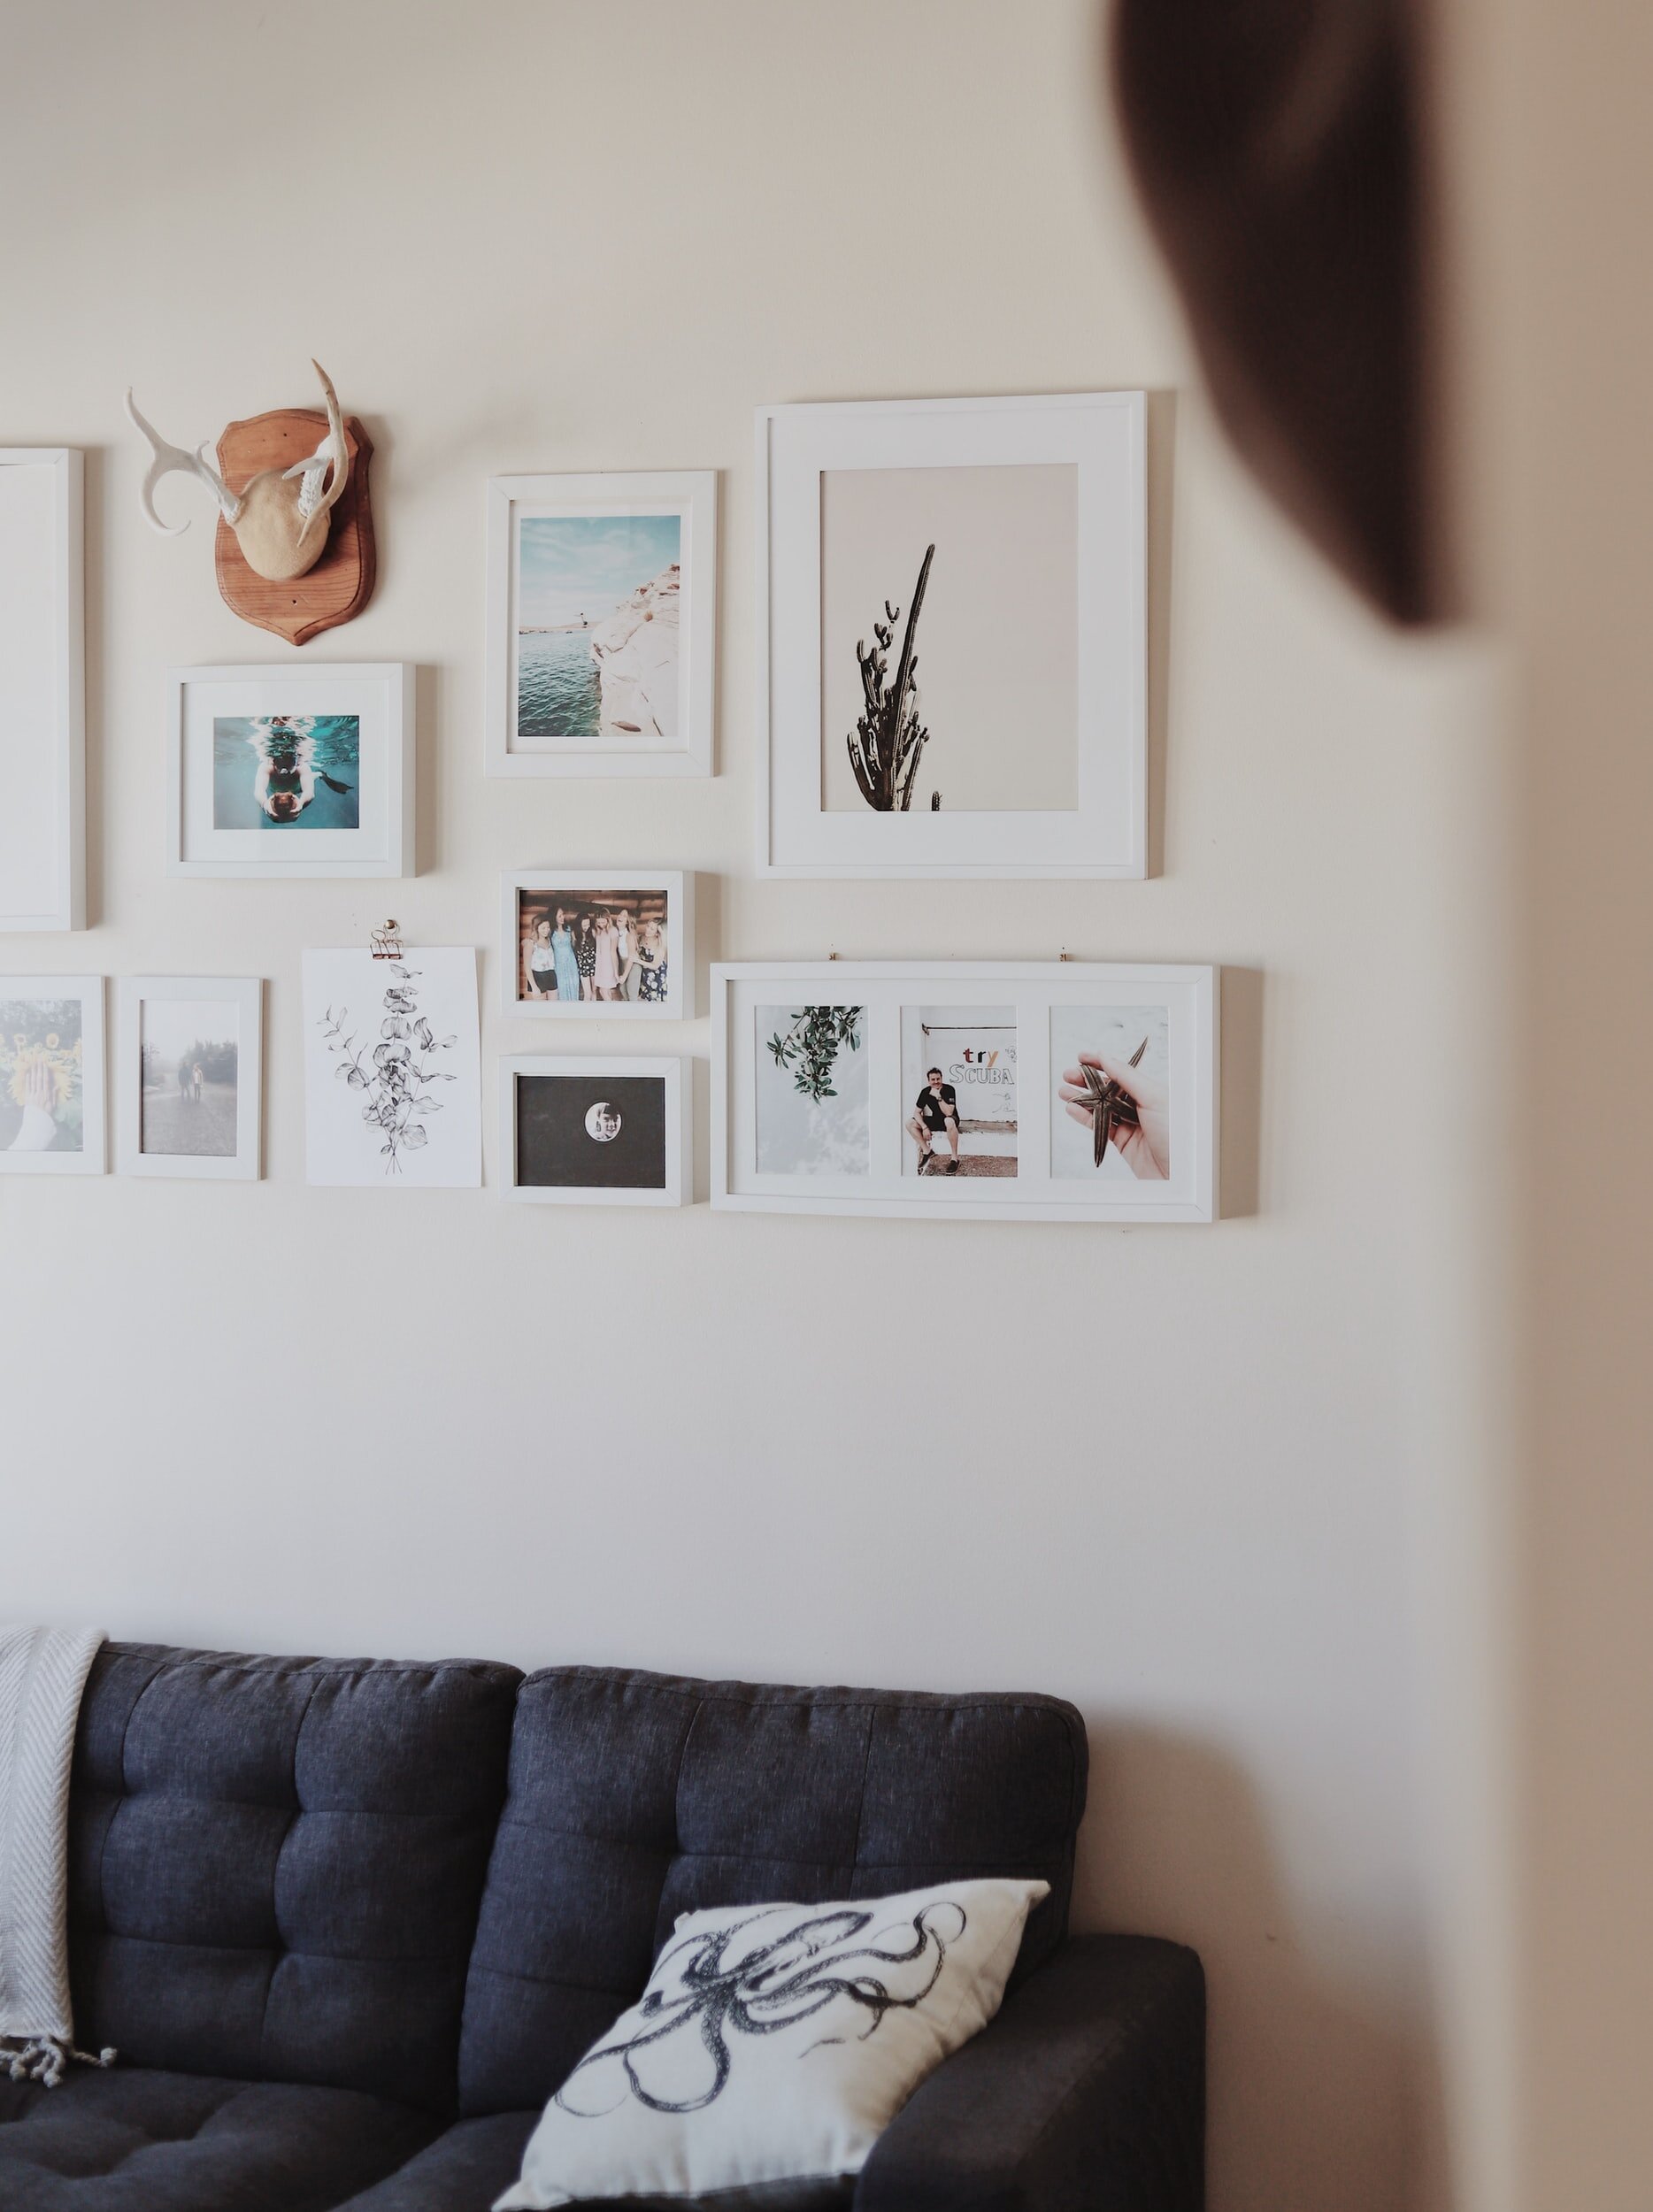
Choosing what photos to print can be tricky! Even harder, where do you display all these photos & how? As a photographer, one of the most common downfalls I see in this industry with the rise of social media, is the decline of family photo albums. While the photography industry is still beaming with life as families are still booking sessions, and capturing these timeless moments, I’ve seen a sharp decline in families actually PRINTING their images and framing them. While scrapbooking and family photo albums take time many of my families simply do not have any longer, it is still oh so very important to print the images we capture and frame them on display within your home. Let’s look below at some of the many ways you can easily get your photos from digital online gallery, to epic wall gallery display!
I know in this day and age printing out our images takes time, money and TIME! Yes, time is precious, and so are those images you just spent that money on to have taken. Now let’s get you from the land of the digitals to the wall in your home!
EASY AS 1…2…3!

Step One: Choose your wall space, select a gallery wall collage layout and frame collection (colors) that will fit your home the best. Order your frames.
Step Two: Head to your online client gallery & select your favorite images. Using the wall gallery layout option you selected as a guide, choose which images you want in each frame. Pay attention to the image orientation, and select portrait or landscape photos according to the layout you selected. Choose the Family Classic 7 print package option and select your images in the sizes that correspond with your wall gallery template. Once you’ve carefully selected all your images, ORDER THEM! The images will ship directly to your home! If you need help choosing images for your gallery wall, or help with the cropping, email me: contact@sugardivasphotography.com!
Step Three: Hang your photos! Once your frames and images arrive to your home, remove the backs of the frames, matting, & carefully remove the glass and wash both sides using an ammonia free cleaner (I prefer SPRAYWAY brand) and a lint free rag or paper towel. Place frames back in and with a piece of tape gently tape the photo to the back of the matting and place into your frame and reassemble backs. Using either command strips, or nails & hammer, hang your frames. For more in depth tips and tricks for hanging your frames, check out my blogs!
Know your Orientation!

Let’s check real quick!
I know it seems basic, and maybe you’re already a pro and know this, but for anyone who might not…portrait orientation is any photo that goes “up and down”, while landscape is any photo that goes side to side. This part is very important to consider when you select your images in your gallery. If you select an image that is shot in a portrait layout to go into a landscape frame, chances are, unless there is a lot of excess background, you will crop out a lot of the people in your photos or end up with an image that doesn’t fit your frame orientation correctly which will mess up the wall gallery layout you’ve chosen. For SQUARE images, select a landscape where your subject is centered, and there is plenty of background to crop side to side, or email me to create a perfectly square cropped image from a landscape or portrait image where there is room to eliminate some of the background.

Go Horizontal!
If you have a wall space you want to go horizontally, try one of these two configurations. This is perfect for above furniture, on a small wall, or above wainscoting.
Add a shelf for more visual interest, and to display a plant, candleholders etc. This is also a great option if you love to change out your prints or decor for the holidays!

Short on wall space?
Go Vertical!

This frame layout allows you to make a big statement in a tiny wall space!
This wall gallery layout is PERFECT for at the end of a hallway or skinny entryway wall, or if you want room to grow, double it up with TWO wall galleries and use this layout twice to flank a TV on either side on a big wall!